![[NSX] Installing VMware NSX-T Manager on OpenStack](/assets/images/2021-04-07-installing-nsxt-manager-on-openstack/nsxt.png)
[NSX] Installing VMware NSX-T Manager on OpenStack
- 10 minsFor a long time now I’ve been interested in better understanding alternatives to a ‘vanilla’ Neutron deployment, but other than demonstrations and some hacking on OpenContrail a few years ago and Plumgrid years before that, I’ve really kept it simple by sticking to the upstream components and features.
VMware’s NSX-T product has been on my roadmap since it was first introduced as “compatible with All The Clouds™”, and I’m hoping to deploy the NSX-T Manager and other components on my OpenStack cloud as virtual machine instances that in turn manage networking for a yet-to-be-deployed OpenStack-Ansible based OpenStack cloud in the home lab.
This post demonstrates the steps involved in prepping an OpenStack cloud to host the NSX-T Manager appliance. Future posts will cover additional requirements.
First off, you’ll need the following:
- An OpenStack cloud!
- Cinder volume support
- At least one (1) network for management
- NSX-T software
I loosely followed the guide here and modified the KVM-based installation accordingly.
Obtaining Software
I can’t really help much when it comes to obtaining the NSX-T software and licenses, other than to say you may want to speak to your VMware representative. Don’t have one? The VMware Users Group (VMUG) provides a subscription to a host of VMware products for a reasonable yearly subscription fee. Check it out!.
When downloading the software, you’ll want to grab the following two qcow2 images:
nsx-unified-appliance-3.1.0.0.0.17107212-le.qcow2nsx-unified-appliance-secondary-3.1.0.0.0.17107212-le.qcow2
Versioning may change, but you need both the (unmarked) primary and secondary unified appliance images.
Prep Work
Before starting, we need to create some resources in the OpenStack cloud hosting the NSX Manager, including security group rules and port(s) for the manager instance itself.
Create security group(s) and rules
VMware does a great job of listing protocols and ports needed for their software products here. I created the following group and rules based on their requirements:
openstack security group create nsx
openstack security group rule create nsx --protocol icmp
openstack security group rule create nsx --protocol tcp --dst-port 443
openstack security group rule create nsx --protocol tcp --dst-port 6081
openstack security group rule create nsx --protocol tcp --dst-port 9000
openstack security group rule create nsx --protocol tcp --dst-port 5671
openstack security group rule create nsx --protocol tcp --dst-port 1234
openstack security group rule create nsx --protocol tcp --dst-port 8080
openstack security group rule create nsx --protocol tcp --dst-port 1235
openstack security group rule create nsx --protocol udp --dst-port 6081
openstack security group rule create nsx --protocol tcp --dst-port 22
Create a Neutron port
The NSX Manager appliance is bootstrapped with a configuration that is injected into the image using the guestfish utility. Part of the configuration defines the IP address, netmask, and gateway for the Manager appliance. That said, now is a good time to create a Neutron port on the management network in order to know what the fixed IP will be so the configuration can be created accordingly.
# openstack port create --network LAN --security-group nsx NSX_MANAGER_MGMT --description 'NSX Manager'
The port details are as follows:
IP: 192.168.2.168
Netmask: 255.255.255.0
Gateway: 192.168.2.1
DNS: 172.22.0.5
NTP: 172.22.0.5
Create the bootstrap config file
There are a handful of properties that must be defined in the configuration file to properly bootstrap the NSX-T Manager:
nsx_cli_passwd_0
nsx_cli_audit_passwd_0
nsx_passwd_0
nsx_hostname
nsx_role
nsx_isSSHEnabled
nsx_allowSSHRootLogin
nsx_dns1_0
nsx_ntp_0
nsx_domain_0
nsx_gateway_0
nsx_netmask_0
nsx_ip_0
The following values are intentionally insecure for demonstration purposes only:
nsx_cli_passwd_0 = 0p3nst@ck$$NSX
nsx_cli_audit_passwd_0 = 0p3nst@ck$$NSX
nsx_passwd_0 = 0p3nst@ck$$NSX
nsx_hostname = nsx-manager1
nsx_role = "NSX Manager"
nsx_isSSHEnabled
nsx_allowSSHRootLogin = yes
nsx_dns1_0 = 172.22.0.5
nsx_ntp_0 = 172.22.0.5
nsx_domain_0 = jimmdenton.com
nsx_gateway_0 = 192.168.2.1
nsx_netmask_0 = 255.255.255.0
nsx_ip_0 = 192.168.2.168
Create a file named guestinfo-manager.xml with the corresponding values, as shown here:
<?xml version="1.0" encoding="UTF-8"?>
<Environment
     xmlns="http://schemas.dmtf.org/ovf/environment/1"
     xmlns:xsi="http://www.w3.org/2001/XMLSchema-instance"
     xmlns:oe="http://schemas.dmtf.org/ovf/environment/1">
   <PropertySection>
    <Property oe:key="nsx_cli_passwd_0" oe:value="0p3nst@ck$$NSX"/>
    <Property oe:key="nsx_cli_audit_passwd_0" oe:value="0p3nst@ck$$NSX"/>
    <Property oe:key="nsx_passwd_0" oe:value="0p3nst@ck$$NSX"/>
    <Property oe:key="nsx_hostname" oe:value="nsx-manager1"/>
    <Property oe:key="nsx_role" oe:value="NSX Manager"/>
    <Property oe:key="nsx_isSSHEnabled" oe:value="True"/>
    <Property oe:key="nsx_allowSSHRootLogin" oe:value="True"/>
    <Property oe:key="nsx_dns1_0" oe:value="172.22.0.5"/>
    <Property oe:key="nsx_ntp_0" oe:value="172.22.0.5"/>
    <Property oe:key="nsx_domain_0" oe:value="jimmdenton.com"/>
    <Property oe:key="nsx_gateway_0" oe:value="192.168.2.1"/>
    <Property oe:key="nsx_netmask_0" oe:value="255.255.255.0"/>
    <Property oe:key="nsx_ip_0" oe:value="192.168.2.168"/>
   </PropertySection>
</Environment>
Create a flavor
VMware lists requirements for the virtualized Manager based on environment size. Here, in a small environment, the CPU and RAM requirements are somewhat reasonable:
- CPUs: 4
- RAM: 16 GB
Create the flavor:
openstack flavor create \
--vcpu 4 \
--ram 16384 \
nsx-manager-extra-small
You might have noticed a disk size was not set. Because we will be attaching volumes to the instance, no size is required in the flavor definition.
Upload the images
Both the primary and secondary unified appliance images must be uploaded to Glance. However, the primary image needs to be modified to include the guestinfo file created earlier.
Because the unified appliance image may be used to create other appliances in future posts, now is a good time to create a duplicate:
# cp nsx-unified-appliance-3.1.0.0.0.17107212-le.qcow2 nsx-unified-appliance-manager-3.1.0.0.0.17107212-le.qcow2
Use the guestfish utility to inject the xml file as /config/guestinfo:
# apt install libguestfs-tools
# guestfish --rw -i -a nsx-unified-appliance-manager-3.1.0.0.0.17107212-le.qcow2 upload guestinfo-manager.xml /config/guestinfo
After a brief moment, and with no feedback, the image will be modified. To verify, perform the following command:
# guestfish --ro -a nsx-unified-appliance-manager-3.1.0.0.0.17107212-le.qcow2 -i
The image will be opened, and a cat of the file should reveal the proper contents:
Welcome to guestfish, the guest filesystem shell for
editing virtual machine filesystems and disk images.

Type: 'help' for help on commands
      'man' to read the manual
      'quit' to quit the shell

Operating system: Ubuntu 18.04.4 LTS
/dev/sda2 mounted on /
/dev/sda1 mounted on /boot
/dev/nsx/config mounted on /config
/dev/nsx/config__bak mounted on /config_bak
/dev/nsx/image mounted on /image
/dev/sda3 mounted on /os_bak
/dev/nsx/repository mounted on /repository
/dev/nsx/tmp mounted on /tmp
/dev/nsx/var+dump mounted on /var/dump
/dev/nsx/var+log mounted on /var/log

><fs> cat /config/guestinfo
<?xml version="1.0" encoding="UTF-8"?>
<Environment
     xmlns="http://schemas.dmtf.org/ovf/environment/1"
     xmlns:xsi="http://www.w3.org/2001/XMLSchema-instance"
     xmlns:oe="http://schemas.dmtf.org/ovf/environment/1">
   <PropertySection>
    <Property oe:key="nsx_cli_passwd_0" oe:value="0p3nst@ck$$NSX"/>
    <Property oe:key="nsx_cli_audit_passwd_0" oe:value="0p3nst@ck$$NSX"/>
    <Property oe:key="nsx_passwd_0" oe:value="0p3nst@ck$$NSX"/>
    <Property oe:key="nsx_hostname" oe:value="nsx-manager1"/>
    <Property oe:key="nsx_role" oe:value="NSX Manager"/>
    <Property oe:key="nsx_isSSHEnabled" oe:value="True"/>
    <Property oe:key="nsx_allowSSHRootLogin" oe:value="True"/>
    <Property oe:key="nsx_dns1_0" oe:value="172.22.0.5"/>
    <Property oe:key="nsx_ntp_0" oe:value="172.22.0.5"/>
    <Property oe:key="nsx_domain_0" oe:value="jimmdenton.com"/>
    <Property oe:key="nsx_gateway_0" oe:value="192.168.2.1"/>
    <Property oe:key="nsx_netmask_0" oe:value="255.255.255.0"/>
    <Property oe:key="nsx_ip_0" oe:value="192.168.2.168"/>
   </PropertySection>
</Environment>

><fs> quit
Now, upload the images:
openstack image create \
--disk-format qcow2 \
--container-format bare \
--file nsx-unified-appliance-3.1.0.0.0.17107212-le.qcow2 \
nsx-unified-appliance-manager

openstack image create \
--disk-format qcow2 \
--container-format bare \
--file nsx-unified-appliance-secondary-3.1.0.0.0.17107212-le.qcow2 \
nsx-unified-appliance-secondary-manager
Create the volumes
Because we need to mount a secondary disk at boot, I found it easier to boot the instance with both images attached as volumes:
- primary image as
sda - secondary image as
sdb
To create the volumes from image, you must first determine what size the volume needs to be. Using qemu-img, find the real size as shown here:
# qemu-img info nsx-unified-appliance-manager-3.1.0.0.0.17107212-le.qcow2
image: nsx-unified-appliance-3.1.0.0.0.17107212-le.qcow2
file format: qcow2
virtual size: 200 GiB (214748364800 bytes)
disk size: 10.2 GiB
cluster_size: 65536
Format specific information:
    compat: 1.1
    lazy refcounts: false
    refcount bits: 16
    corrupt: false

# qemu-img info nsx-unified-appliance-secondary-manager-3.1.0.0.0.17107212-le.qcow2
image: nsx-unified-appliance-secondary-3.1.0.0.0.17107212-le.qcow2
file format: qcow2
virtual size: 100 GiB (107374182400 bytes)
disk size: 196 KiB
cluster_size: 65536
Format specific information:
    compat: 1.1
    lazy refcounts: false
    refcount bits: 16
    corrupt: false
Turns out, the primary image has a size of 200GB while the secondary ends up as 100GB.
Knowing that, the volumes can now be created:
openstack volume create \
--image nsx-unified-appliance-manager \
--size 200 \
nsx-unified-appliance-manager

openstack volume create \
--image nsx-unified-appliance-secondary \
--size 100 \
nsx-unified-appliance-secondary-manager
After a while (depending on the speed of your network), the volumes should show as available:
root@lab-infra01:/home/jdenton# openstack volume list
+--------------------------------------+-----------------------------------------+----------------+------+-------------+
| ID                                   | Name                                    | Status         | Size | Attached to |
+--------------------------------------+-----------------------------------------+----------------+------+-------------+
| 15a3daff-b06e-4a3c-9a00-7ef4639a56da | nsx-unified-appliance-secondary-manager | available      |  100 |             |
| 327999a1-8901-4273-be43-d1151f388195 | nsx-unified-appliance-manager           | available      |  200 |             |
+--------------------------------------+-----------------------------------------+----------------+------+-------------+
Deploy an NSX-T Manager Instance
With the required resources in place, it’s time to create the instance:
openstack server create \
--port NSX_MANAGER_MGMT \
--flavor nsx-manager-extra-small \
--volume nsx-unified-appliance-manager \
--block-device-mapping vdb=nsx-unified-appliance-secondary-manager \
nsx-manager1
After a brief moment, the instance should go ACTIVE:
# openstack server show nsx-manager1
+-------------------------------------+----------------------------------------------------------------+
| Field                               | Value                                                          |
+-------------------------------------+----------------------------------------------------------------+
| OS-DCF:diskConfig                   | MANUAL                                                         |
| OS-EXT-AZ:availability_zone         | nova                                                           |
| OS-EXT-SRV-ATTR:host                | lab-compute02                                                  |
| OS-EXT-SRV-ATTR:hypervisor_hostname | lab-compute02.openstack.local                                  |
| OS-EXT-SRV-ATTR:instance_name       | instance-0000020e                                              |
| OS-EXT-STS:power_state              | Running                                                        |
| OS-EXT-STS:task_state               | None                                                           |
| OS-EXT-STS:vm_state                 | active                                                         |
| OS-SRV-USG:launched_at              | 2021-04-08T01:59:33.000000                                     |
| OS-SRV-USG:terminated_at            | None                                                           |
| accessIPv4                          |                                                                |
| accessIPv6                          |                                                                |
| addresses                           | LAN=192.168.2.168                                              |
| config_drive                        |                                                                |
| created                             | 2021-04-08T01:59:14Z                                           |
| flavor                              | nsx-manager-extra-small (38f00cb5-9d5e-43f4-b63e-4da7175f00a0) |
| hostId                              | 619a1b066ba5e16258c79ded5319a206777219e3e688f5200d74dd72       |
| id                                  | 89d16e20-1807-465f-9703-16d78675db1f                           |
| image                               | N/A (booted from volume)                                       |
| key_name                            | None                                                           |
| name                                | nsx-manager1                                                   |
| progress                            | 0                                                              |
| project_id                          | 7a8df96a3c6a47118e60e57aa9ecff54                               |
| properties                          |                                                                |
| security_groups                     | name='default'                                                 |
| status                              | ACTIVE                                                         |
| updated                             | 2021-04-08T01:59:33Z                                           |
| user_id                             | 34f3cf48b24f41c097555c07961f139e                               |
| volumes_attached                    | id='327999a1-8901-4273-be43-d1151f388195'                      |
|                                     | id='15a3daff-b06e-4a3c-9a00-7ef4639a56da'                      |
+-------------------------------------+----------------------------------------------------------------+
The instance’s console can be checked to ensure the instance is booting:
# openstack console url show nsx-manager1
+-------+--------------------------------------------------------------------------------------------+
| Field | Value                                                                                      |
+-------+--------------------------------------------------------------------------------------------+
| type  | novnc                                                                                      |
| url   | https://10.20.0.10:6080/vnc_lite.html?path=%3Ftoken%3Dcbe20437-6ad4-46e4-9056-014dc791040e |
+-------+--------------------------------------------------------------------------------------------+
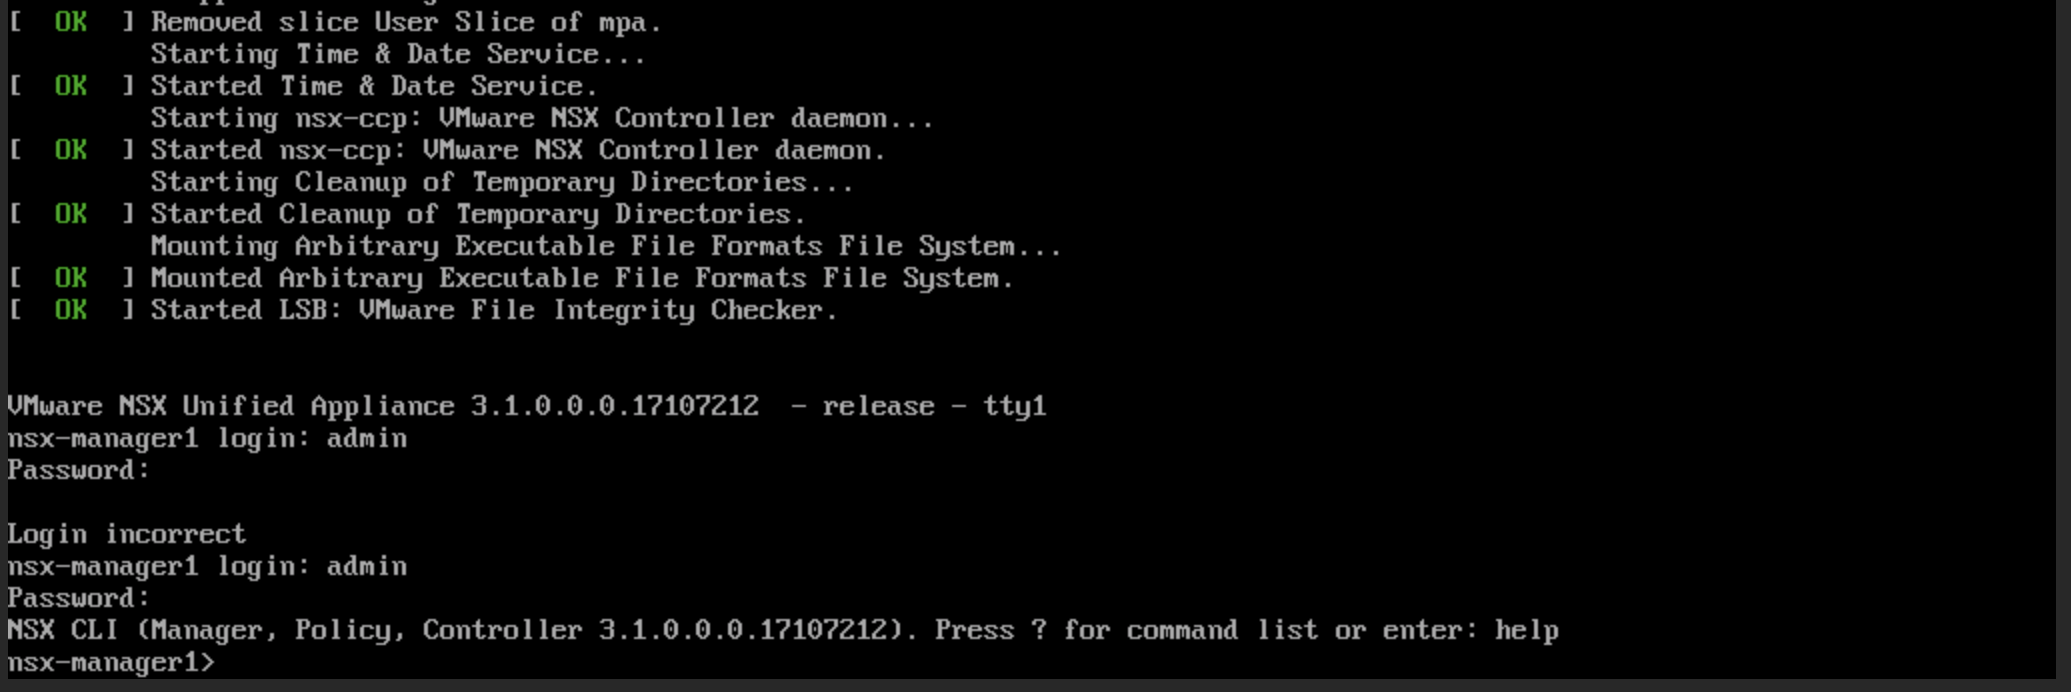
After a few minutes, a console prompt appeared on screen:

Using the credentials provided in guestinfo-manager.xml, login to the console:
The VMware installation guide walks you through a few additional validation steps, one of those being network validation:
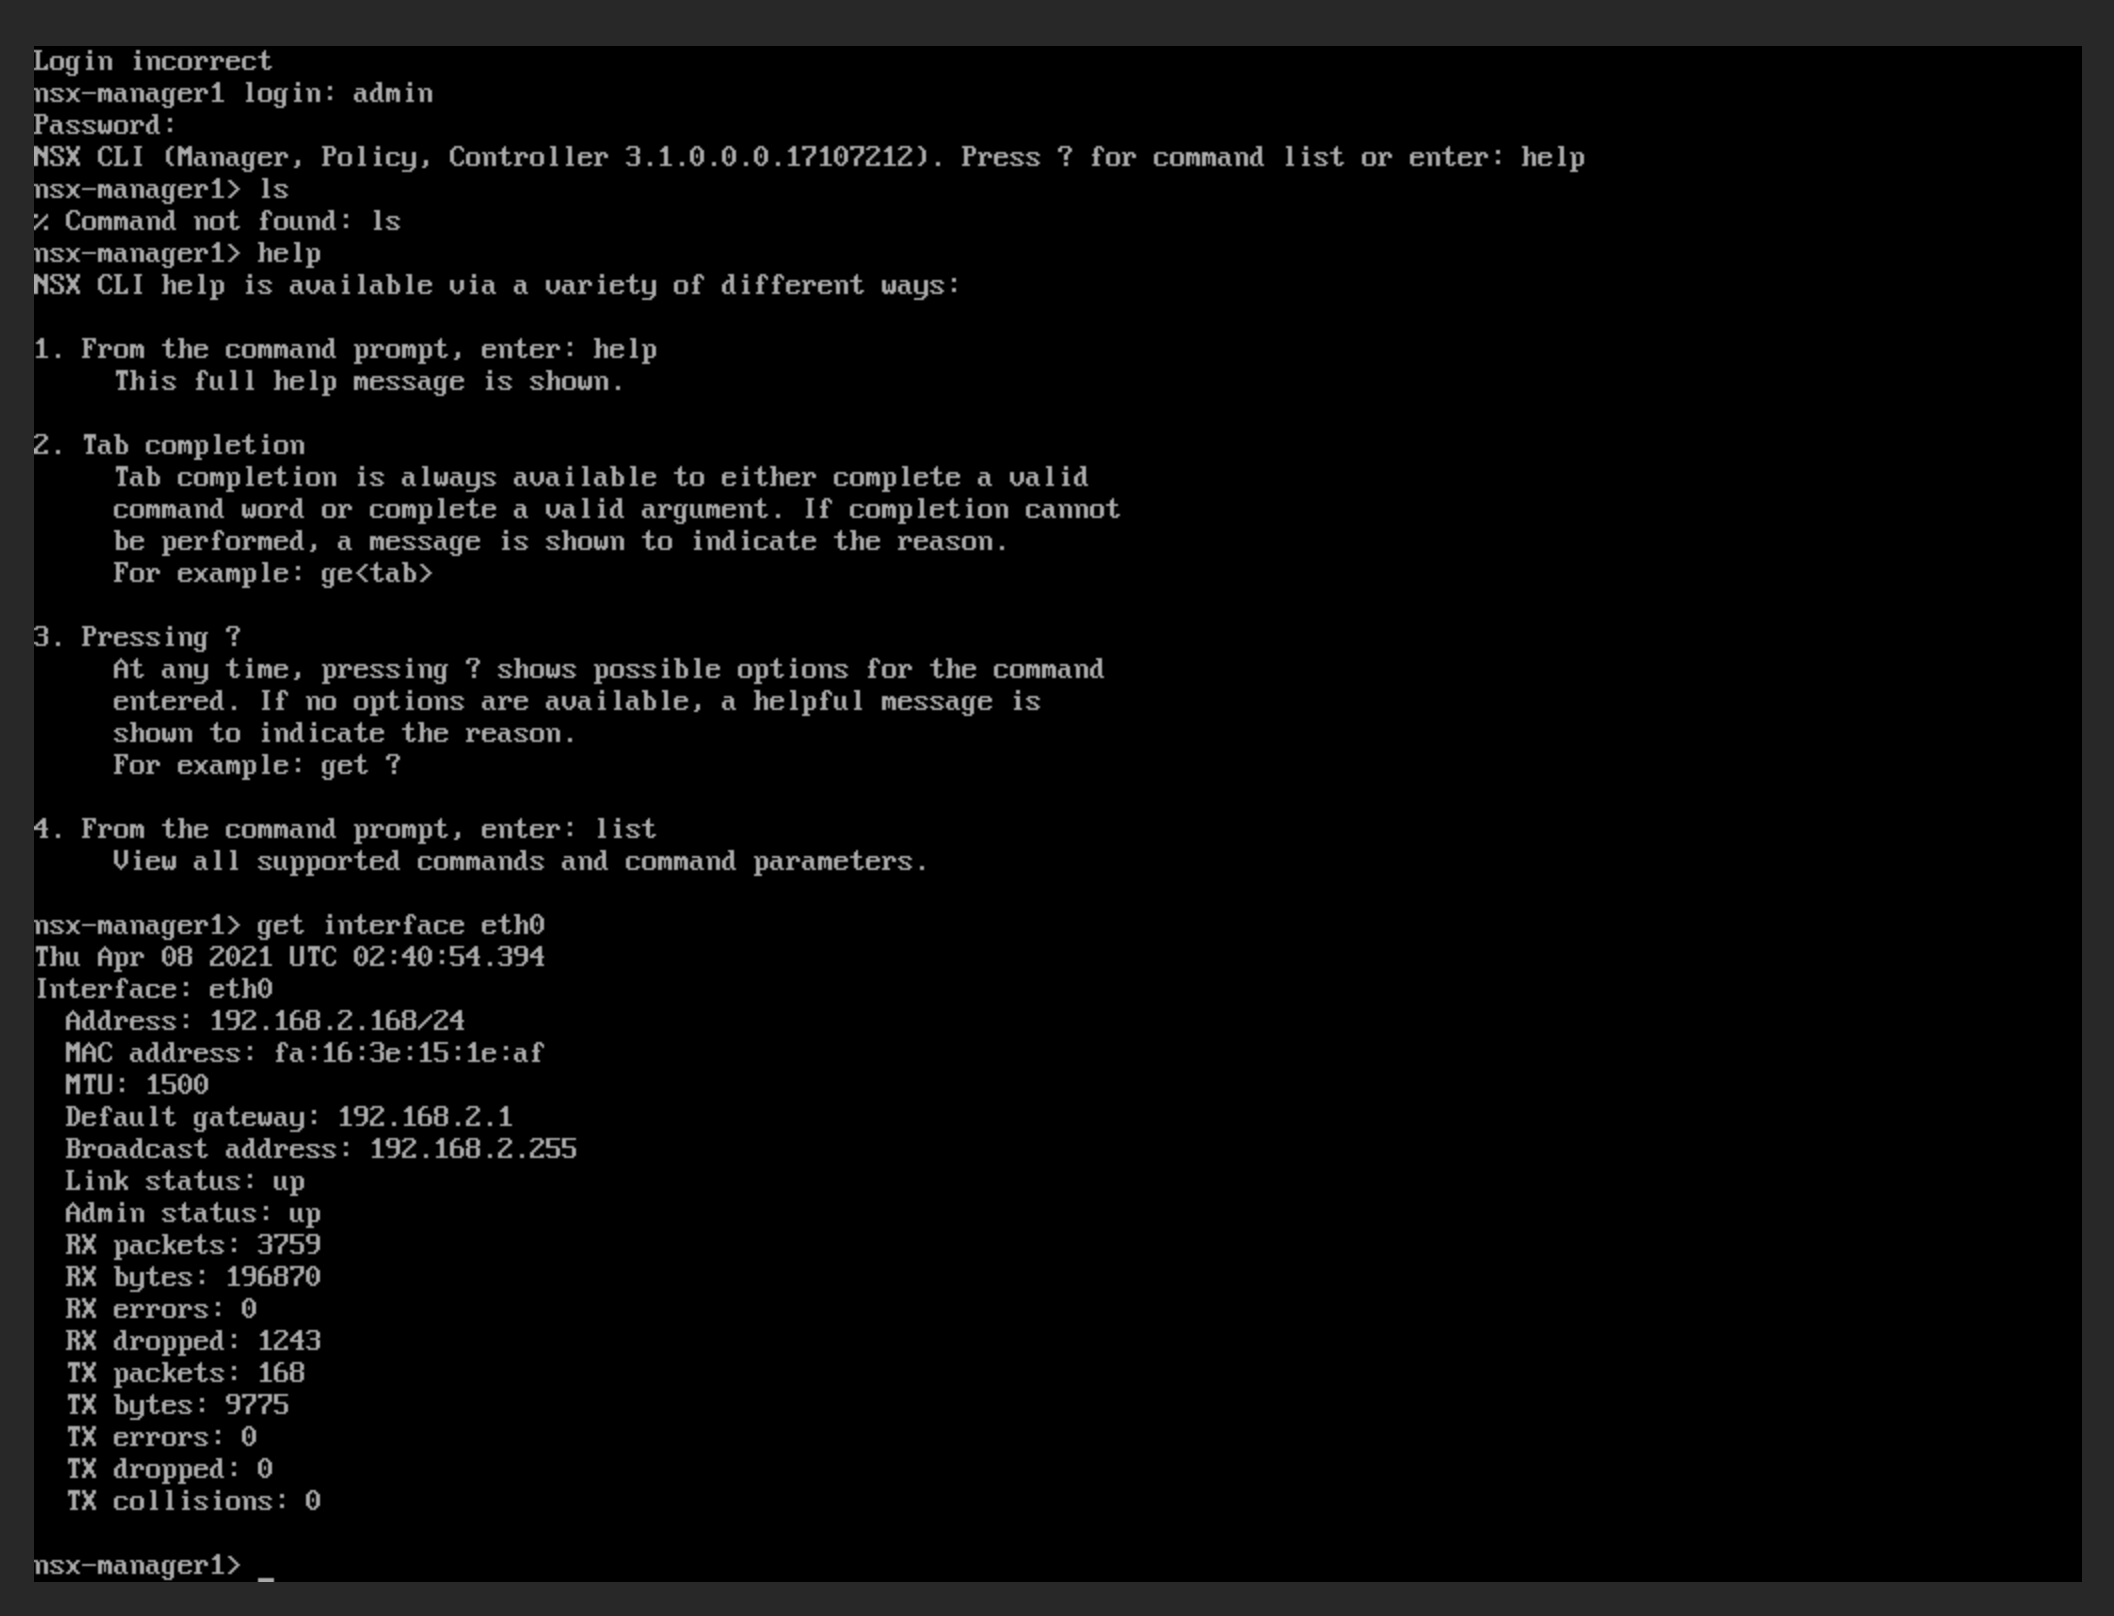
The IP is applied, and ICMP responds as well:
64 bytes from 192.168.2.168: icmp_seq=182 ttl=64 time=5.350 ms
64 bytes from 192.168.2.168: icmp_seq=183 ttl=64 time=4.304 ms
64 bytes from 192.168.2.168: icmp_seq=184 ttl=64 time=5.505 ms
64 bytes from 192.168.2.168: icmp_seq=185 ttl=64 time=4.239 ms
64 bytes from 192.168.2.168: icmp_seq=186 ttl=64 time=5.627 ms
64 bytes from 192.168.2.168: icmp_seq=187 ttl=64 time=4.980 ms
64 bytes from 192.168.2.168: icmp_seq=188 ttl=64 time=4.232 ms
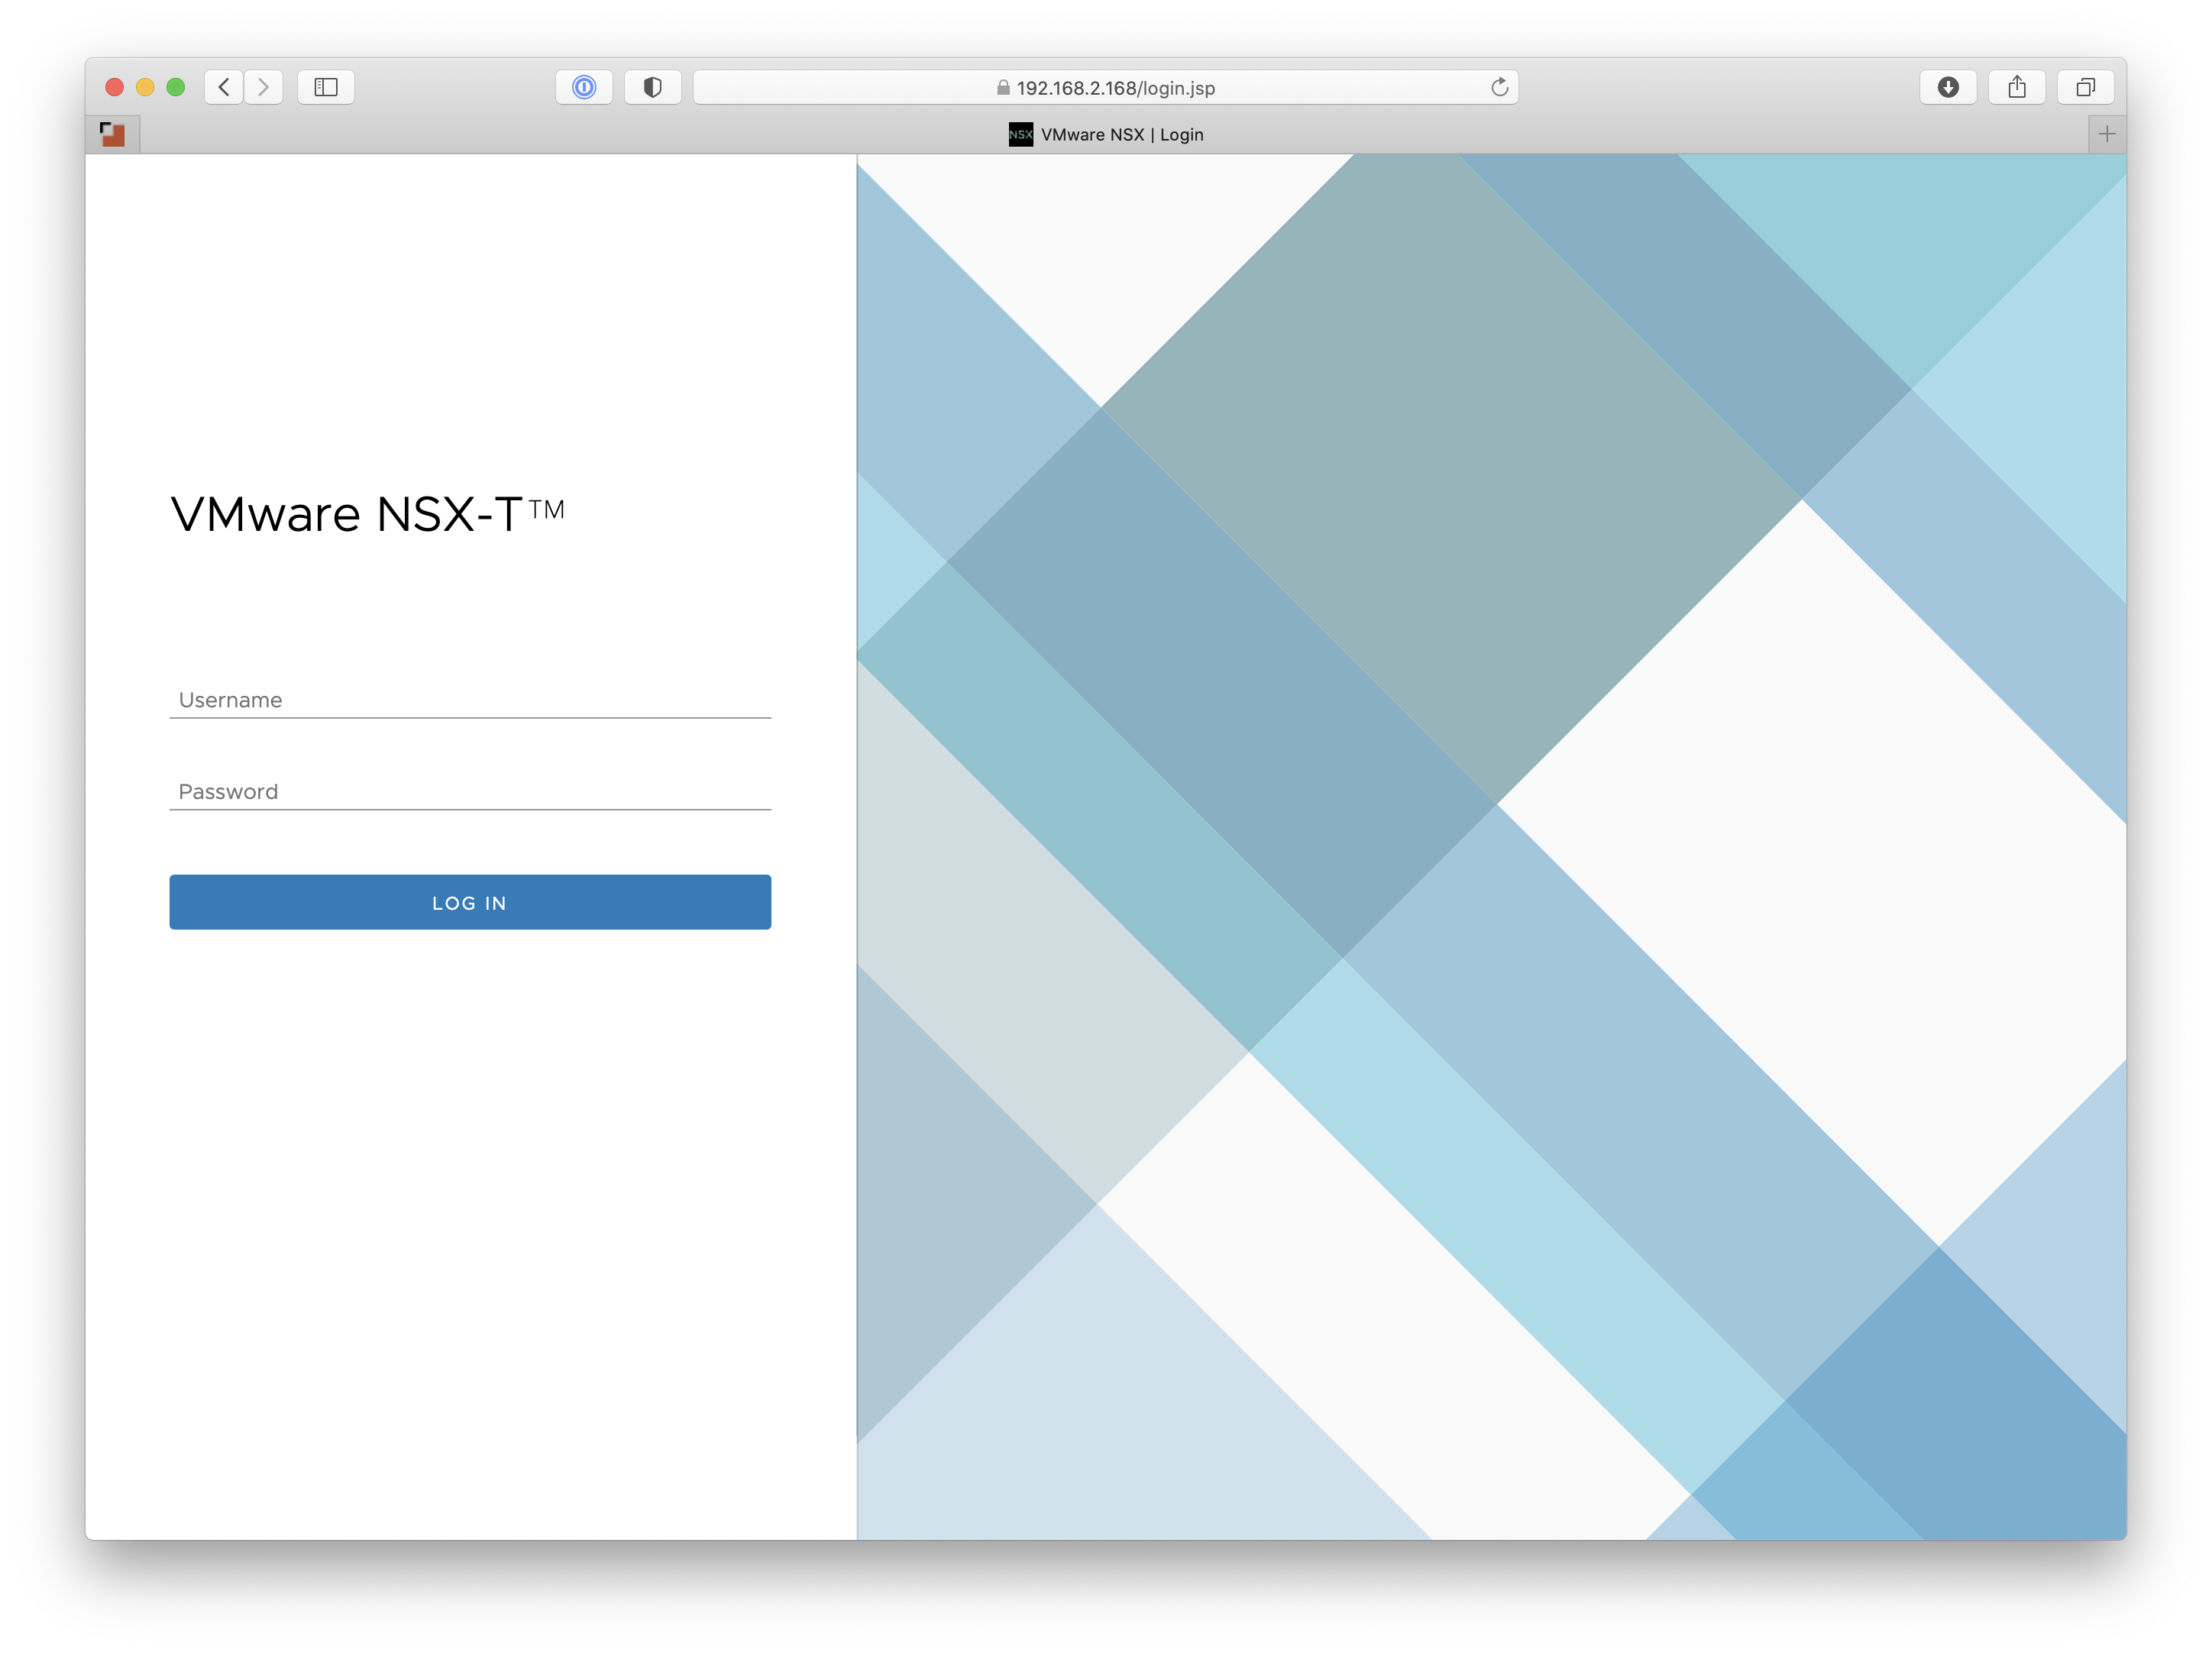
Connecting to the Dashboard
At this point, all signs point to a successful deployment of the NSX-T Manager (unified appliance) on an OpenStack cloud. Using a web browser, connect to the management address defined in guestinfo-manager.xml:
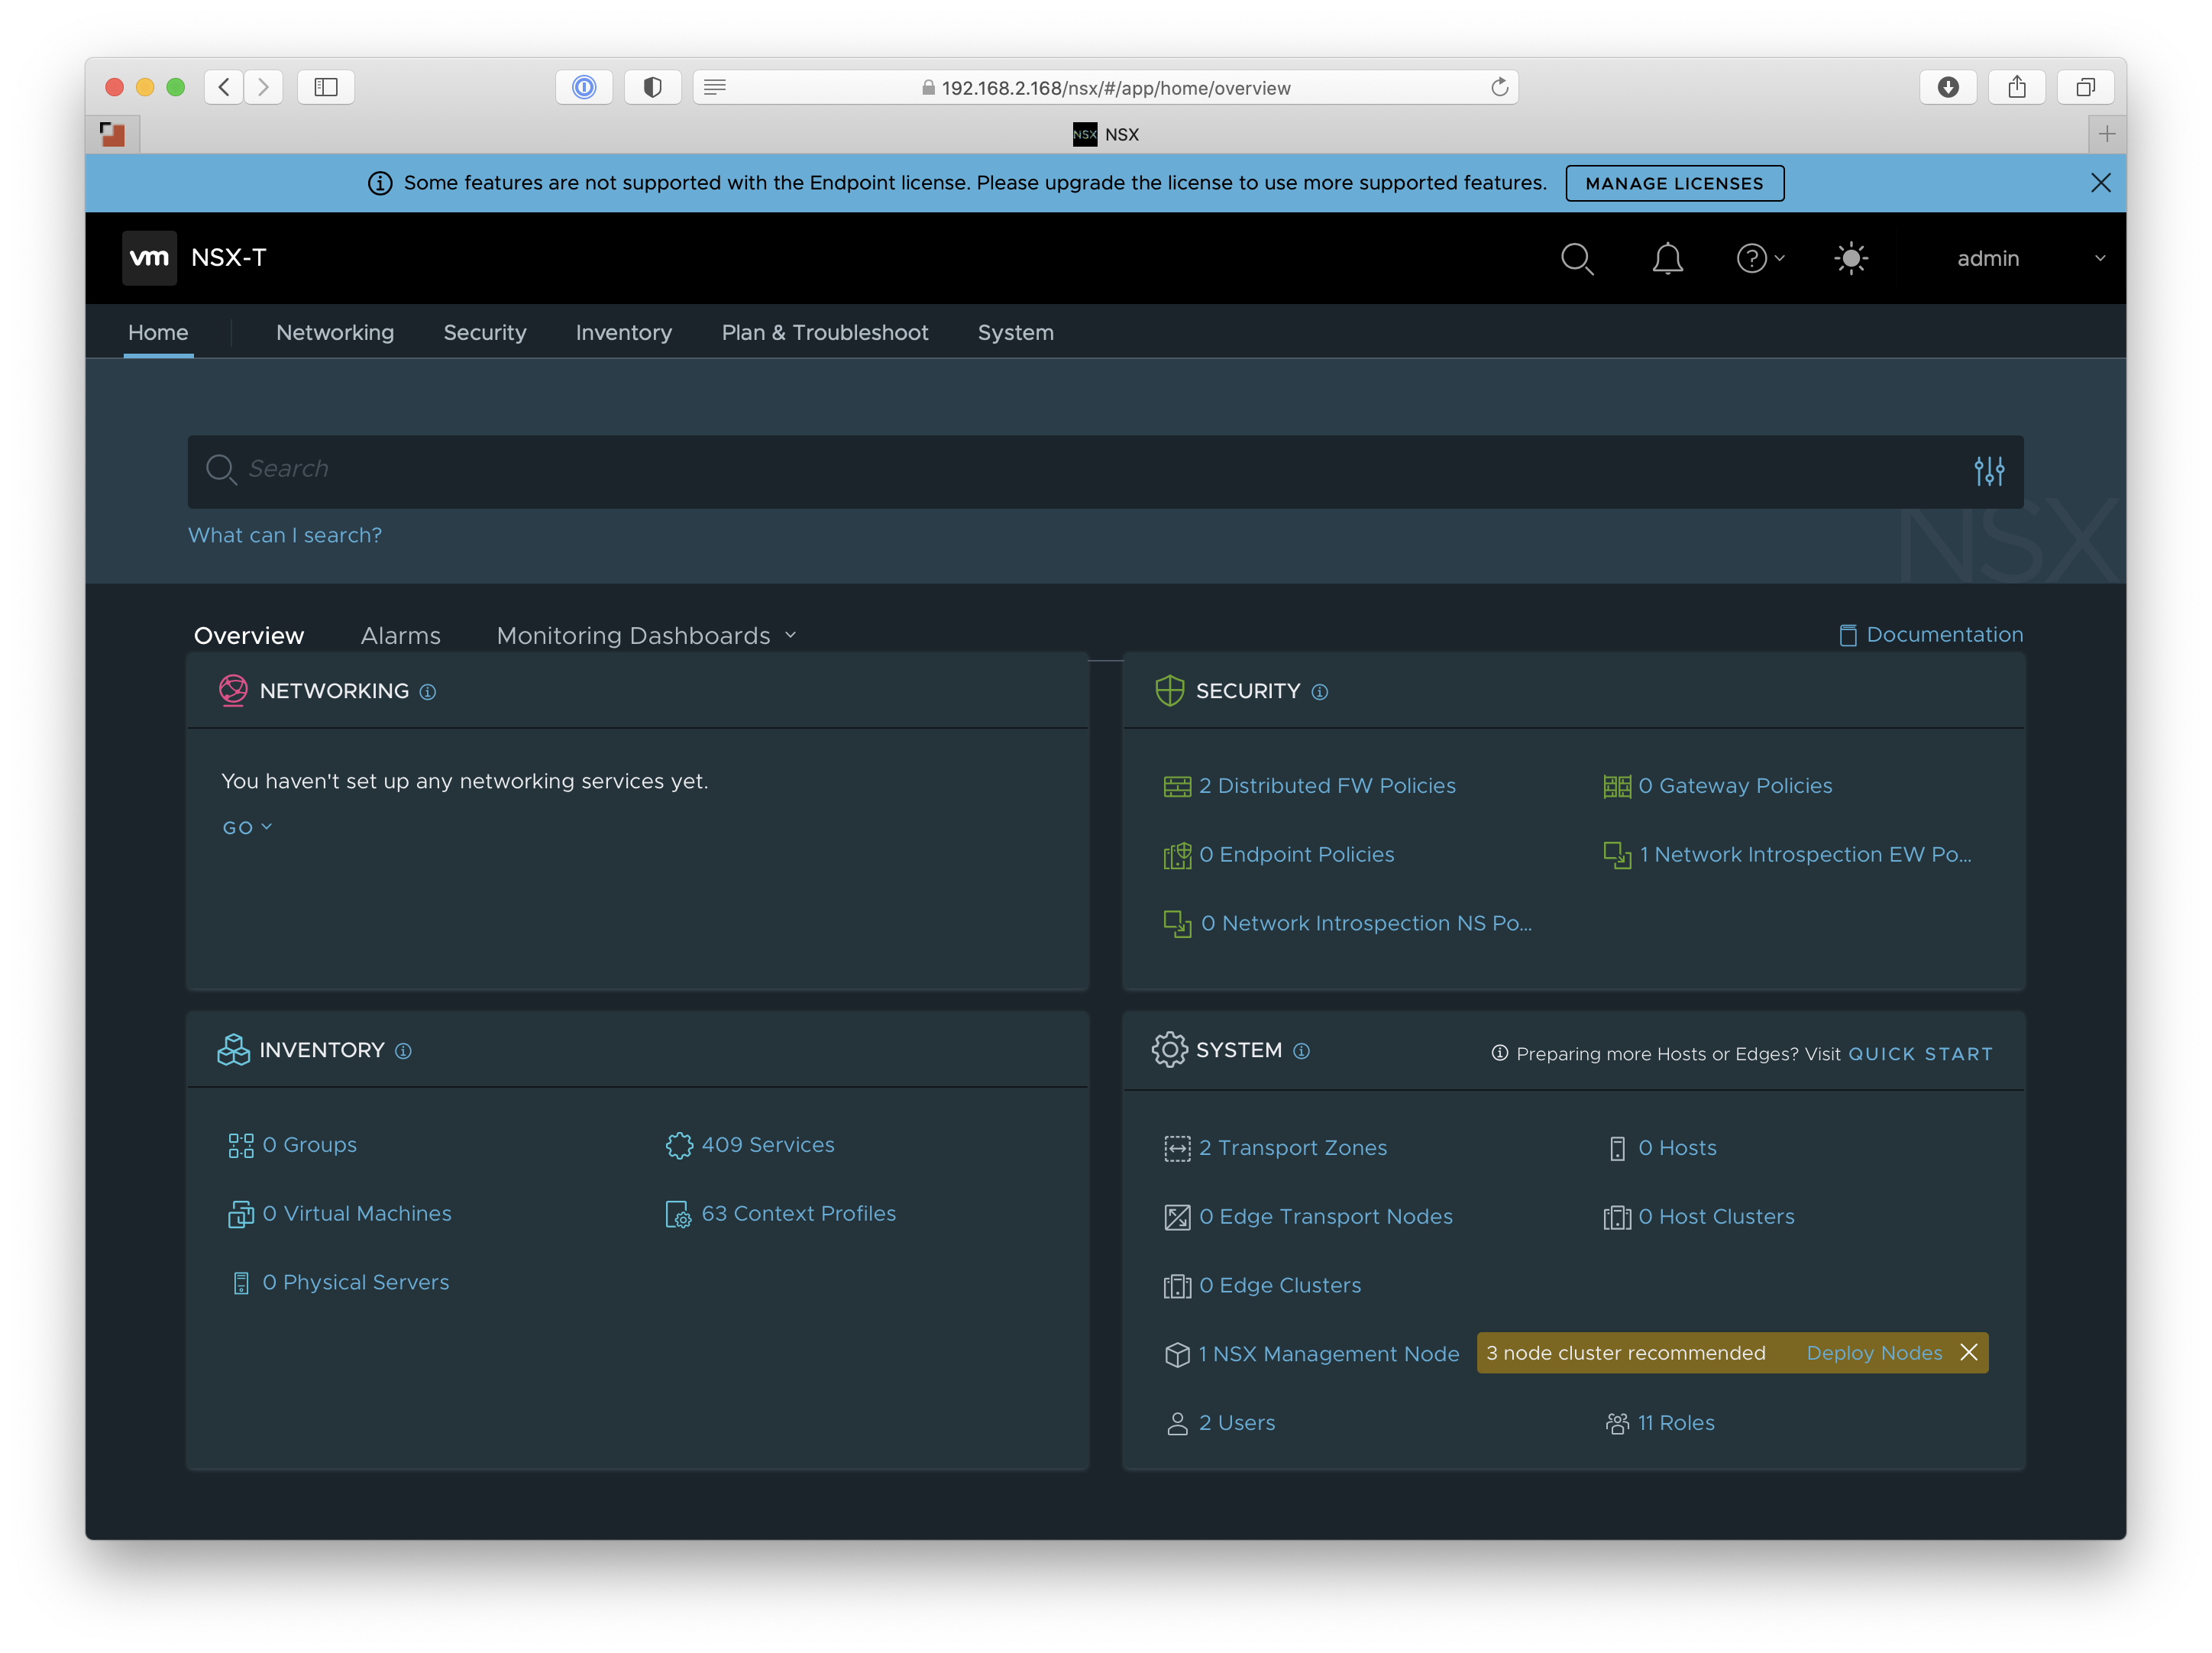
If you’ve downloaded and installed the VMUG-provided image (like me), configure your individualized license key by clicking on Manage Licenses. The NSX For vShield Endpoint license is included, but the NSX Data Center Evaluation license is what is (likely) required for the fun stuff.

In a series of follow-on posts, I hope to explore NSX-T features and OpenStack Neutron integration by deploying a small all-in-one (AIO) cloud using OpenStack-Ansible. Stay tuned!
If you have some thoughts or comments on this process, I’d love to hear ‘em. Feel free to reach out on Twitter at @jimmdenton or hit me up on LinkedIn.

James Denton
openstack, networking, and random musings